Building with LEGO Creator sets is an exciting adventure that sparks creativity and brings imaginative ideas to life. Whether you’re a beginner or a seasoned builder, having a clear, easy-to-follow guide can transform the experience from frustrating to fun.

These step-by-step instructions not only help assemble intricate models but also inspire new ways to customize and expand your creations. Over time, I’ve found that a well-crafted guide makes all the difference in staying motivated and achieving satisfying results.
If you’ve ever struggled with confusing manuals or missing pieces, this overview will set you on the right path. Let’s dive in and explore how to master LEGO Creator building instructions together!
Understanding the Basics of LEGO Creator Sets
Getting Familiar with the Pieces
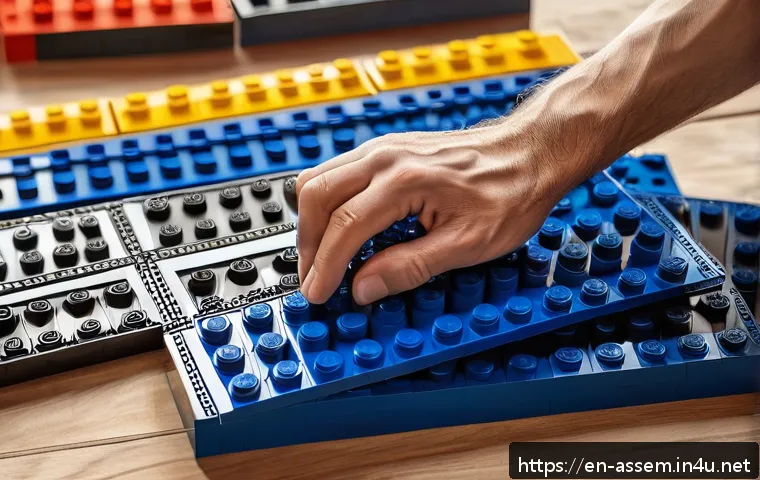
When you first open a LEGO Creator set, the variety of bricks can feel overwhelming. But here’s a trick I’ve learned: sorting pieces by color and shape right from the start makes the whole building process smoother.
For example, separating all the small connectors or transparent pieces into their own piles saves you time flipping through the instruction booklet later.
This organization isn’t just about neatness—it actually helps your brain recognize patterns and speeds up assembly. Plus, when you’re hunting for that one tiny brick, you won’t get frustrated and lose momentum.
Decoding the Instruction Manual
LEGO manuals usually follow a logical step-by-step flow, but they can still feel a bit cryptic if you’re new to them. The key is to pay close attention to the color-coded arrows and the orientation of bricks in the illustrations.
I found that physically mimicking the angle of the model shown in the pictures—rotating your actual build to match—helps immensely. Also, don’t rush through the steps; sometimes what looks like a tiny difference in brick placement can affect the stability of your model later on.
Taking a moment to double-check each step saved me from having to backtrack multiple times.
Tools That Make a Difference
Though LEGO bricks are designed to fit together snugly, a few handy tools can really improve your experience. For instance, a brick separator is a lifesaver when you need to disassemble tight parts without straining your fingers or damaging pieces.
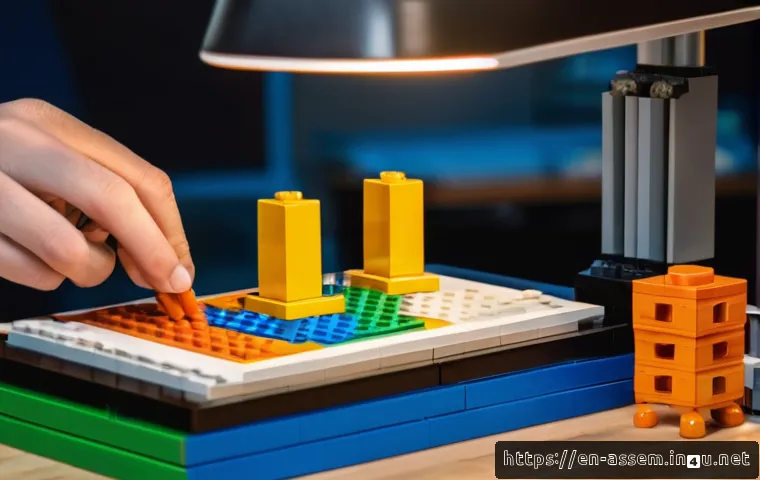
I recommend keeping one close by from the get-go. Additionally, good lighting and a flat, clean workspace reduce mistakes and make the whole process more enjoyable.
These small tweaks turned my building sessions from tedious chores into something I genuinely looked forward to.
Mastering Complex Builds with Confidence
Breaking Down Large Models into Manageable Sections
When tackling a big LEGO Creator set, it’s easy to feel daunted by the sheer number of steps. Instead of viewing the build as one massive project, I like to think of it as assembling smaller modules that will eventually come together.
The instruction booklet often separates these sections naturally, but if it doesn’t, create your own checkpoints. After completing each section, take a break and admire your progress.
This approach keeps motivation high and helps avoid feeling overwhelmed.
Anticipating Problematic Steps
Some parts of LEGO builds are tricky and prone to mistakes, like attaching small, delicate pieces or aligning moving parts. From my experience, reading a few steps ahead in the manual can prepare you for these moments.
Knowing what’s coming helps you be more precise and careful. If a step looks complicated, it’s worth slowing down and double-checking the brick types and placement.
Rushing through these tricky parts often leads to fragile builds or pieces falling off later, which can be frustrating.
Incorporating Personal Customizations
One of the best things about LEGO Creator sets is their flexibility for customization. After you complete the official build, I encourage experimenting with your own ideas—adding extra details, mixing in bricks from other sets, or even swapping colors.
This creative freedom is what makes LEGO building endlessly fun. I’ve found that once you get comfortable with the instructions, personalizing models not only boosts your creativity but also gives a sense of ownership and pride in your work.
Efficient Brick Management Techniques
Sorting Systems That Save Time
Brick sorting can seem tedious, but I promise it pays off in spades. Using small containers, zip bags, or drawer organizers to separate bricks by type and size made a huge difference for me.
I even labeled some compartments for frequently used pieces. This system means I spend less time hunting for bricks and more time building. Plus, when cleaning up, it’s easier to return pieces to their designated spots, keeping your workspace tidy for the next session.
Tracking Missing Pieces and Replacements
If you’ve ever been stuck because a piece is missing, you know how frustrating it can be. My advice is to do a quick inventory before starting, especially for large sets.
If you find something missing, LEGO’s customer service is pretty responsive in sending replacements. Keeping a small notepad or app handy to log missing or damaged bricks also helps.
That way, you can stay on top of any issues and avoid interruptions during your build.
Maintaining Your LEGO Collection
Taking care of your bricks ensures they last for years and maintain their vibrant colors and clutch power. I usually store mine away from direct sunlight and dust them occasionally with a soft brush.
For heavily used sets, a gentle wash in lukewarm water with mild soap (air-dried thoroughly) can refresh the bricks. Avoid harsh chemicals or heat, which can warp or discolor the plastic.
Keeping your collection in good shape means every build feels just as satisfying as the first time.
Tips for Navigating the Instruction Steps Smoothly
Visualizing the Build Process
One technique I swear by is mentally visualizing the upcoming steps before physically placing bricks. Taking a moment to imagine how pieces fit together helped me catch mistakes early.
This mental rehearsal is like a preview that reduces surprises or confusion. I also find that reading through a few steps ahead without building right away creates a smoother workflow and less backtracking.
Handling Small and Repetitive Pieces
Some LEGO Creator sets include lots of tiny or similar-looking pieces, which can trip up even experienced builders. To tackle this, I group these small pieces separately and use tweezers or a small tool for precise placement.
For repetitive steps, like building multiple identical windows or wheels, assembling all identical parts in one go before attaching them to the model saves time and keeps the process organized.
Using Digital Resources to Supplement Manuals
Besides the physical instructions, there are fantastic digital tools and apps that enhance the building experience. Interactive 3D instructions let you zoom, rotate, and view steps from different angles, making complex parts easier to understand.
I’ve used LEGO’s official app and found it a great companion, especially when a printed manual feels unclear. These digital aids can also speed up the process and reduce frustration, especially for first-timers.
How to Troubleshoot Common Building Challenges
Identifying and Correcting Assembly Errors
Mistakes happen, and that’s perfectly normal. When you spot a problem—like a piece out of place or a fragile section—don’t panic. Retracing your steps calmly and comparing your build to the manual helps pinpoint where things went off track.
I’ve learned that fixing errors early prevents bigger issues later on. Sometimes, disassembling a small section and rebuilding it carefully is the quickest way to get back on track.
Dealing with Loose or Unstable Sections
Certain builds include parts that don’t snap together as firmly as others. If a section feels wobbly, try reinforcing it with additional bricks or connectors if the instructions allow.
In my experience, slight adjustments in brick alignment or adding support pieces on the inside can greatly improve stability. Also, avoiding excessive force during assembly helps maintain the bricks’ clutch power over time.
Finding Help When You’re Stuck
When all else fails, don’t hesitate to seek help from the LEGO community. Online forums, social media groups, and YouTube tutorials are treasure troves of tips and solutions from fellow builders.
I once got stuck on a tricky motorized section until I watched a step-by-step video that clarified the confusing part. Sharing your challenges and learning from others can turn a frustrating moment into a rewarding learning experience.
Comparing Popular LEGO Creator Sets for Skill Levels and Themes
| Set Name | Recommended Skill Level | Theme | Piece Count | Ideal For |
|---|---|---|---|---|
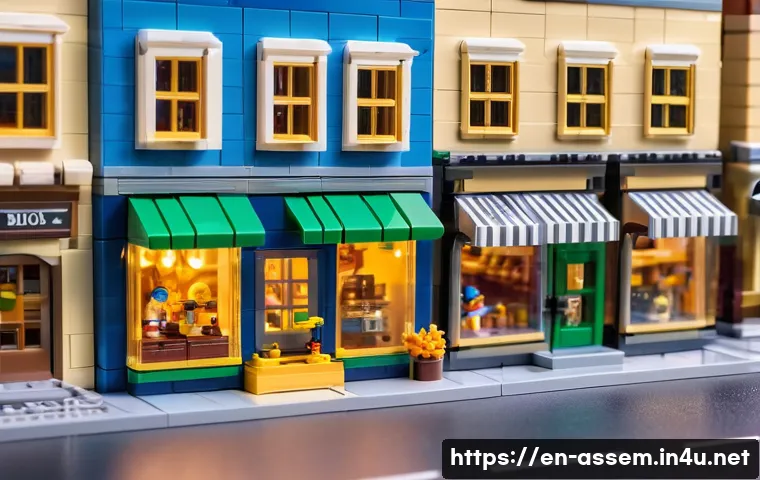
| LEGO Creator 3in1 Townhouse Toy Store | Intermediate | City Life | 665 | Builders who enjoy modular buildings and detailed interiors |
| LEGO Creator 3in1 Deep Sea Creatures | Beginner to Intermediate | Animals & Nature | 220 | Great for younger builders and those new to Creator sets |
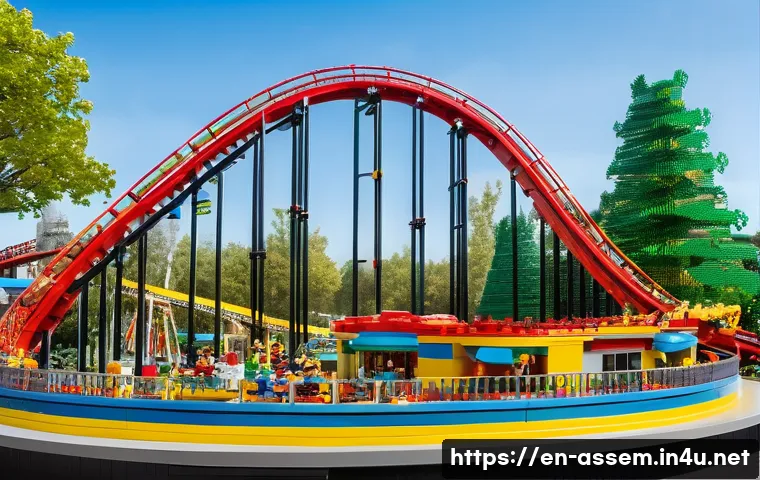
| LEGO Creator Expert Roller Coaster | Advanced | Amusement Park | 4124 | Experienced builders looking for a challenging, large-scale project |
| LEGO Creator 3in1 Rocket Rally Car | Beginner | Vehicles | 243 | Perfect for quick builds and car enthusiasts |
| LEGO Creator 3in1 Pirate Ship | Intermediate | Adventure | 560 | Ideal for builders who love themed fantasy sets |
Closing Thoughts
Building with LEGO Creator sets is a rewarding experience that combines creativity, patience, and problem-solving. By understanding the basics and applying smart techniques, you can transform even the most complex builds into enjoyable projects. Remember, every brick you connect is a step toward crafting something uniquely yours. Keep experimenting and have fun along the way!
Useful Tips to Keep in Mind
1. Sorting your bricks by color and shape before building can save you a lot of time and frustration later on.
2. Take your time with the instruction manual—rotating your build to match the images helps avoid mistakes.
3. Use tools like brick separators and good lighting to make the assembly process smoother and more enjoyable.
4. Break large builds into smaller sections and celebrate your progress to stay motivated throughout the project.
5. Don’t hesitate to customize your models after finishing the official design to boost your creativity and ownership.
Key Takeaways
Efficient organization and patience are essential when working with LEGO Creator sets. Preparing your workspace and familiarizing yourself with instructions upfront can prevent common errors. Embrace the flexibility of these sets by personalizing your builds, and rely on community resources when challenges arise. Ultimately, enjoying the process is just as important as completing the model.
Frequently Asked Questions (FAQ) 📖
Q: What should I do if I find the LEGO Creator instructions confusing or hard to follow?
A: It’s completely normal to feel overwhelmed at first, especially with complex models. I’ve learned that breaking down the steps into smaller sections really helps.
Take your time with each stage, and don’t hesitate to pause and double-check the pieces. Sometimes, viewing the instructions on a digital app or zooming in on detailed parts can make a big difference.
Also, organizing your bricks by color and type before starting can save you a lot of frustration. Remember, the goal is to enjoy the process, not rush through it.
Q: How can I handle missing or damaged LEGO pieces when building a Creator set?
A: Missing or damaged bricks can be a real headache, but LEGO’s customer service is surprisingly helpful. I once had a tiny piece missing, and after reaching out through their official website, I got a replacement part sent right to my door without any hassle.
In the meantime, try to find a similar piece from your existing collection or substitute temporarily to keep the momentum going. Keeping your sets well-organized and stored properly can prevent damage and loss in the future, which I’ve found saves a lot of trouble.
Q: Are there any tips for customizing my LEGO Creator models beyond the instructions?
A: Absolutely! One of the best parts about Creator sets is how they encourage imagination. After building the original model, I like to experiment by swapping parts or adding my own touches, like changing colors or combining elements from different sets.
Using online communities and fan forums can spark new ideas and offer inspiration. Just remember, there are no wrong moves here—letting your creativity run wild is what makes each build uniquely yours.
Plus, customizing helps you develop problem-solving skills and keeps the experience fresh and exciting.