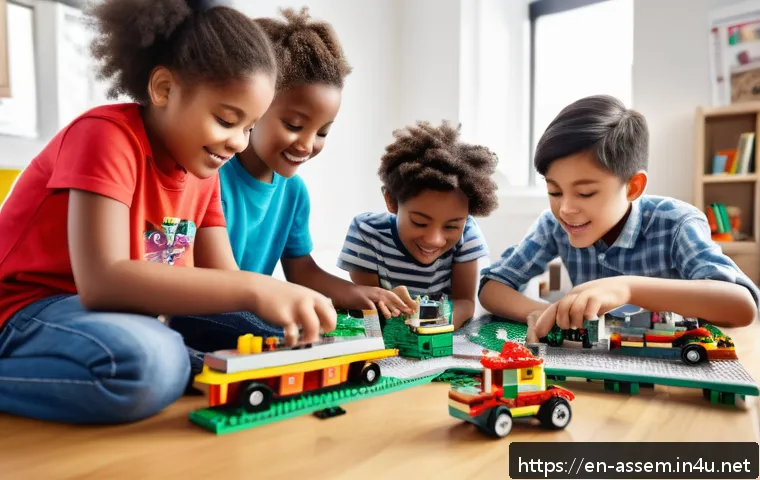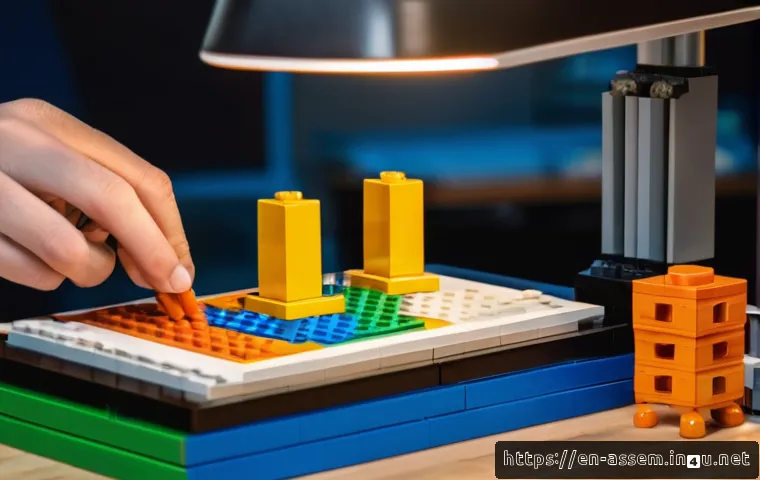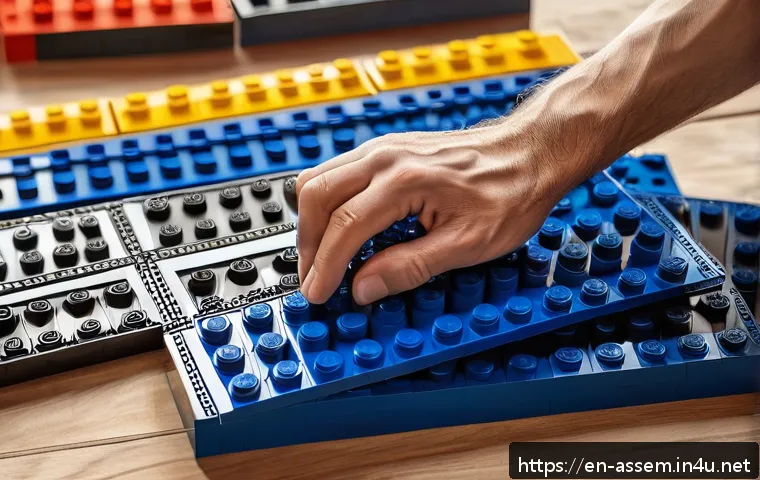
Lately, LEGO has been more than just a childhood pastime—it’s become a creative outlet for all ages, sparking a surge in enthusiasts eager to sharpen their building skills.
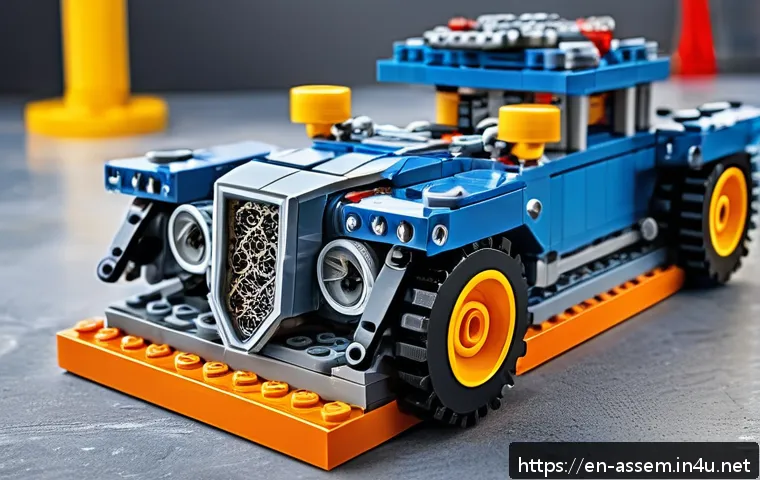
Whether you’re a casual builder or aiming to craft intricate designs, mastering assembly techniques can transform your experience from frustrating to fulfilling.
I’ve spent countless hours experimenting with different methods, and trust me, a few expert tips can make all the difference. If you’ve ever struggled with complex sets or wanted to build like a pro, this guide is tailored just for you.
Let’s dive into the art of LEGO assembly and unlock your full building potential!
Choosing the Right Pieces for a Strong Foundation
Understanding Brick Types and Their Strengths
When it comes to building sturdy LEGO models, not all bricks are created equal. Some pieces, like standard 2×4 bricks, offer reliable stability and are perfect for forming the core of your structure.
In contrast, plates—those thin, flat pieces—are great for layering but don’t provide as much support on their own. I’ve found that mixing these elements thoughtfully can prevent frustrating collapses during your build.
For example, using bricks for vertical support combined with plates for horizontal layering gives you the best of both worlds. Knowing which pieces to prioritize early on saves time and headaches, especially when tackling larger sets.
Sorting and Organizing Pieces Before Starting
Sorting your LEGO bricks by type, size, or color before you begin building might seem tedious, but it’s a game changer. Personally, I dedicate a little time upfront to separate plates, bricks, slopes, and specialty pieces.
This way, when I need a specific piece, I’m not scrambling through a pile, which can break my flow and enthusiasm. Plus, an organized workspace reduces the risk of losing tiny connectors that are essential for complex assemblies.
If you’re working on an intricate design, try sorting by the shape and function of pieces to speed up your build and keep your focus sharp.
Layering Techniques to Maximize Stability
Layering is more than just stacking bricks; it’s about locking the pieces together so the structure holds firm. I like to use the “staggered” method—placing bricks so their seams don’t line up directly, similar to how real bricks are laid in construction.
This technique distributes weight evenly and reinforces the model’s integrity. When layering plates, I overlap them slightly to create a more cohesive surface.
This might sound simple, but it makes a huge difference when you’re building taller or more complex models that need to withstand handling or display.
Mastering Connections for Complex Builds
Using Technic Pieces to Enhance Movement and Strength
Technic elements can be intimidating at first, but they add a whole new dimension to your LEGO creations. These specialized connectors, axles, and gears allow for functional movement and increase the durability of your builds.
When I first experimented with Technic parts, I noticed how they transformed static models into dynamic, interactive pieces. For instance, incorporating gears into a vehicle build gives it realistic motion, while axle connectors reinforce joints that might otherwise be weak.
Don’t shy away from mixing traditional bricks with Technic components; the synergy can lead to impressive results.
Securing Hinges and Moving Joints Without Sacrificing Stability
Adding movable parts like hinges and swivel joints always raises questions about balance. In my experience, the key is to anchor these elements firmly into the surrounding structure.
Using multiple connection points rather than a single hinge attachment helps distribute stress and prevents the model from falling apart during play or display.
Also, consider the direction of movement—design your joints to move freely without interfering with other pieces. A little trial and error here goes a long way, but once you get the hang of it, your builds will have professional-grade articulation.
Tips for Aligning Pieces Precisely
Precise alignment isn’t just about aesthetics; it impacts the overall build quality. When pieces are slightly misaligned, it can cause tension and weaken the model.
I often use a gentle “press and adjust” approach—placing bricks carefully, then nudging them into perfect position before locking them in. For larger assemblies, it helps to build in smaller sections and connect them once each part is perfectly aligned.
This modular approach also simplifies troubleshooting if something doesn’t fit quite right. Taking your time here prevents frustration and makes your finished model look sharp and polished.
Optimizing Your Workspace for Better Builds
Lighting and Surface Selection
Good lighting can’t be overstated when working on detailed LEGO projects. I always set up near a natural light source or use a bright, adjustable desk lamp to reduce eye strain and catch tiny details.
A flat, non-slip surface is equally important—working on a smooth table with a silicone mat or soft cloth underneath prevents pieces from sliding away or getting lost.
When I switched to this setup, my builds became more efficient, and I found myself less distracted by searching for stray bricks.
Tools and Accessories That Make a Difference
While LEGO is designed to be assembled by hand, a few simple tools can elevate your building experience. Brick separators, for example, are lifesavers when you need to detach stubborn pieces without damage.
Tweezers help with tiny elements, especially in intricate models. I also keep small containers nearby for sorting, which makes the whole process feel more organized.
These accessories might seem like extras, but trust me—they save time and keep frustration levels low during marathon building sessions.
Managing Time and Breaks During Long Builds
Building complex LEGO sets can be a marathon, not a sprint. I’ve learned that pacing myself with regular breaks keeps my focus sharp and creativity flowing.
It’s tempting to push through, but fatigue often leads to mistakes or careless assembly. Setting mini-goals for each session—like completing a specific section—gives a sense of progress and makes the task less overwhelming.
Plus, stepping away for a few minutes refreshes your perspective and helps you spot details you might have missed.
Enhancing Creativity Through Customization
Mixing Sets and Pieces for Unique Designs
One of the most exciting aspects of LEGO is the freedom to mix and match pieces from different sets. I often blend parts from cityscapes, vehicles, and fantasy themes to create something truly unique.
This approach challenges you to think outside the box and develop new building solutions. For example, using spaceship wings on a land vehicle adds a futuristic flair, while combining architectural pieces from different eras creates intriguing hybrid structures.
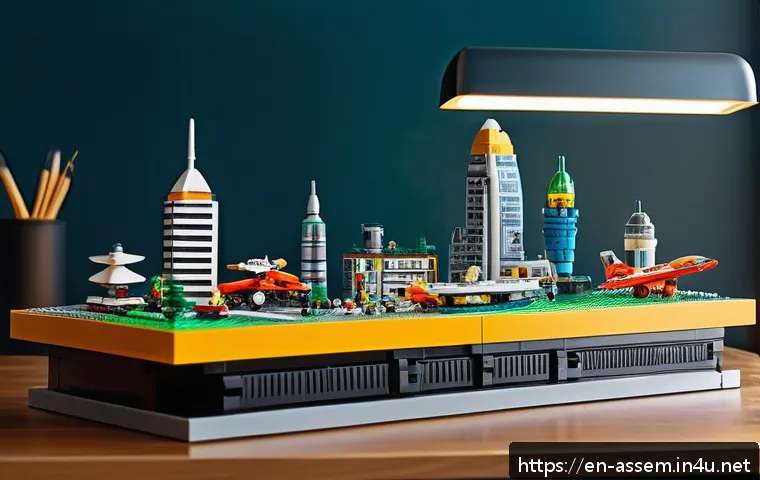
Don’t hesitate to experiment—some of my best builds came from unexpected combinations.
Incorporating Color and Texture for Visual Impact
Color choice can dramatically influence the mood and style of your LEGO creation. I’ve noticed that alternating colors strategically, like contrasting dark and light bricks, brings out details that might otherwise go unnoticed.
Textured pieces such as slopes, tiles, and grille bricks add depth and realism. For instance, using smooth tiles on a building’s facade creates a sleek look, while studs facing out can mimic rough surfaces or patterns.
Playing with these elements turns your model from a simple structure into a visually captivating piece.
Personalizing Builds with Minifigures and Accessories
Adding minifigures and accessories injects life and story into your models. I like to think of minifigs as characters that bring context to the scene, whether it’s a bustling city street or a fantasy castle.
Accessories like weapons, tools, or pets enhance this narrative. When placing figures, consider their interaction with the environment—are they driving vehicles, standing guard, or exploring?
This storytelling aspect makes building more immersive and enjoyable, especially if you like sharing your creations with friends or on social media.
Efficient Troubleshooting and Repair Strategies
Identifying Structural Weak Points Early
During complex builds, some areas inevitably feel fragile or prone to collapse. I’ve learned to spot these weak spots by gently applying pressure to test connections as I build.
If a section feels wobbly, it usually means you need more overlapping bricks or additional support beams. Addressing these issues early prevents having to disassemble large parts later.
Keep an eye on corners, hinges, and moving joints, as they tend to be the most vulnerable.
Fixing Misaligned Sections Without Starting Over
Discovering a misaligned piece late in the process can be frustrating, but you don’t have to scrap the entire build. I recommend carefully separating just the affected section and realigning the bricks.
Using a brick separator tool speeds this up and minimizes damage. Sometimes, slight adjustments to neighboring pieces can fix the problem without a full teardown.
Patience is key here—rushing can cause more issues than it solves.
Maintaining Your LEGO Collection for Longevity
Taking care of your LEGO bricks ensures they stay in good condition for years. I keep mine clean by occasionally washing them gently with mild soap and warm water, then drying thoroughly.
Avoid harsh chemicals or high heat, which can warp pieces. Storing bricks in airtight containers protects them from dust and moisture. Also, labeling your storage helps you find pieces quickly, making every build smoother and more enjoyable.
Comparing Building Techniques for Different Skill Levels
| Technique | Skill Level | Benefits | Challenges |
|---|---|---|---|
| Basic Stacking | Beginner | Easy to learn, quick assembly | Less stability, limited complexity |
| Layered Staggering | Intermediate | Improved stability, more detailed | Requires planning, time-consuming |
| Technic Integration | Advanced | Functional models, high durability | Complex parts, steeper learning curve |
| Modular Building | Advanced | Easy troubleshooting, expandable | Needs precise alignment, planning |
| Custom Piece Mixing | All Levels | Creative freedom, unique designs | Can be overwhelming, trial and error |
Leveraging Community Resources to Improve Your Skills
Joining Online Forums and Groups
Connecting with fellow LEGO enthusiasts online has been a huge help in my building journey. Communities on platforms like Reddit, Facebook, and specialized LEGO forums offer endless inspiration and troubleshooting advice.
Sharing photos, asking questions, and receiving feedback from experienced builders fuels motivation and helps you avoid common pitfalls. Plus, you’ll discover building challenges and contests that push your skills further.
Watching Tutorials and Time-Lapse Builds
Video tutorials are invaluable, especially when tackling tricky assembly steps. I often watch time-lapse builds on YouTube to understand the flow and techniques used by pros.
These videos reveal clever methods and shortcuts that aren’t always obvious in instruction manuals. Following along with step-by-step guides helps me grasp new concepts and improves my speed and accuracy.
Participating in Local LEGO Events and Workshops
If you’re lucky enough to have local LEGO clubs or events nearby, attending these can be a game changer. Hands-on workshops provide direct mentorship, letting you learn from experts face to face.
Plus, building alongside others fosters community and friendly competition, which can be incredibly motivating. Even if events are rare, many cities host LEGO conventions or exhibitions worth visiting for fresh ideas and networking.
In Conclusion
Building strong and creative LEGO models is both an art and a science. By choosing the right pieces, mastering connections, and optimizing your workspace, you can bring your ideas to life with confidence. Remember, patience and experimentation are key to unlocking your full building potential. Most importantly, enjoy the process and let your imagination guide each step.
Helpful Information to Keep in Mind
1. Organizing your LEGO pieces before starting can dramatically speed up your building and reduce frustration.
2. Using layering techniques like staggered brick placement improves the stability of your models, especially for taller builds.
3. Incorporating Technic parts not only strengthens your structure but also adds functional movement to your creations.
4. Taking regular breaks during long building sessions helps maintain focus and prevents mistakes.
5. Engaging with the LEGO community through forums and events offers inspiration, support, and new skills.
Key Takeaways
Successful LEGO building relies on a solid foundation—both in terms of piece selection and structural design. Prioritize stability by mixing bricks and plates wisely, and reinforce moving parts with multiple attachment points. Maintaining an organized and well-lit workspace enhances precision and efficiency. Don’t hesitate to explore creative customization to make your models truly unique, and always be ready to troubleshoot weak spots early to avoid bigger issues. Finally, learning from others through community involvement can elevate your building skills and enjoyment.
Frequently Asked Questions (FAQ) 📖
Q: uestionsQ1: What are some essential tips for beginners to improve their LEGO building skills?
A: For beginners, the key is to start simple and gradually challenge yourself. Organize your pieces by color and type before you begin—it saves a ton of time and frustration.
Also, don’t rush the process; take time to understand the instructions fully. Experimenting with basic techniques like snapping pieces firmly and using plates for stability can instantly improve your builds.
From my experience, patience and organization are game changers when you’re just starting out.
Q: How can I handle complex LEGO sets without feeling overwhelmed?
A: Complex sets can definitely feel intimidating, but breaking down the build into smaller sections really helps. Focus on one step at a time instead of the entire set.
I like to build in stages and take short breaks to avoid burnout. Using a well-lit, clutter-free workspace makes spotting small pieces easier, which reduces mistakes.
Trust me, approaching big projects with a calm mindset and a clear plan turns frustration into fun.
Q: Are there advanced techniques to make my LEGO models more stable and detailed?
A: Absolutely! Once you’re comfortable with basic assembly, techniques like SNOT (Studs Not On Top) can add incredible detail and stability. Reinforcing joints with overlapping bricks and integrating Technic pieces can also strengthen your structure.
From personal experience, combining creative building angles with sturdy foundations transforms simple models into impressive masterpieces. Don’t hesitate to explore online communities for inspiration and advanced tips—they’re a goldmine for taking your skills to the next level.