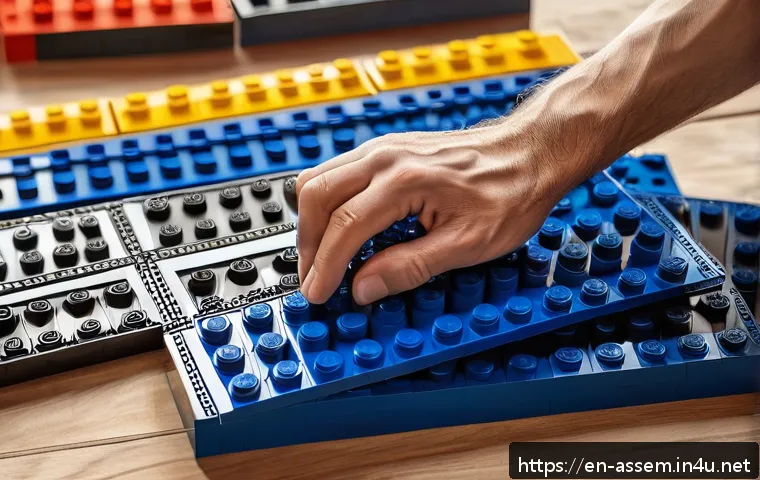
Lately, with LEGO sets becoming more intricate and popular than ever, even the most seasoned builders find themselves facing frustrating assembly errors.
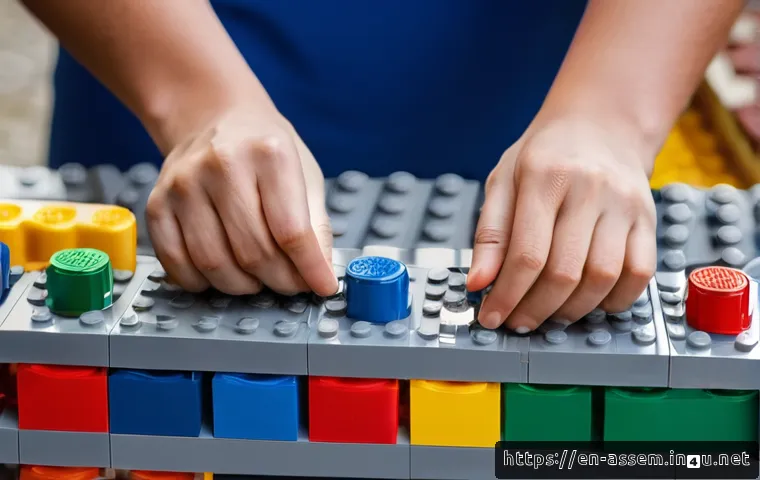
Whether you’re tackling a massive Star Wars model or a detailed architectural piece, mistakes can slow down your creative flow and test your patience.
But don’t worry—mastering how to fix common LEGO brick mistakes can transform your building experience from stressful to enjoyable. In this post, I’ll share practical tips and insider tricks I’ve discovered firsthand to help you correct errors like a pro and keep your projects on track.
Ready to build smarter and avoid those pesky setbacks? Let’s dive in!
Spotting Mistakes Early: How to Catch Errors Before They Grow
Developing a Habit of Frequent Checks
When I first started building complex LEGO sets, I often found myself deep into a section before realizing a piece was misplaced. What really helped me was building in checkpoints—pausing every 15 to 20 minutes to carefully compare my progress against the instructions.
It sounds simple, but it saves a lot of headaches later on. By making this a habit, I caught small errors like swapped bricks or misaligned layers before they turned into bigger problems that required dismantling large sections.
Using Color and Shape as Clues
Sometimes the instructions show pieces that look almost identical, especially with subtle color differences or tiny shape variations. To avoid confusion, I lay out the bricks needed for each step separately, grouping them by color and shape.
This visual sorting makes it easier to pick the right piece. Also, checking the underside or the studs of a brick can reveal differences that aren’t obvious from the top view.
This little trick has saved me from building wrong connections multiple times.
Leveraging Light and Workspace Setup
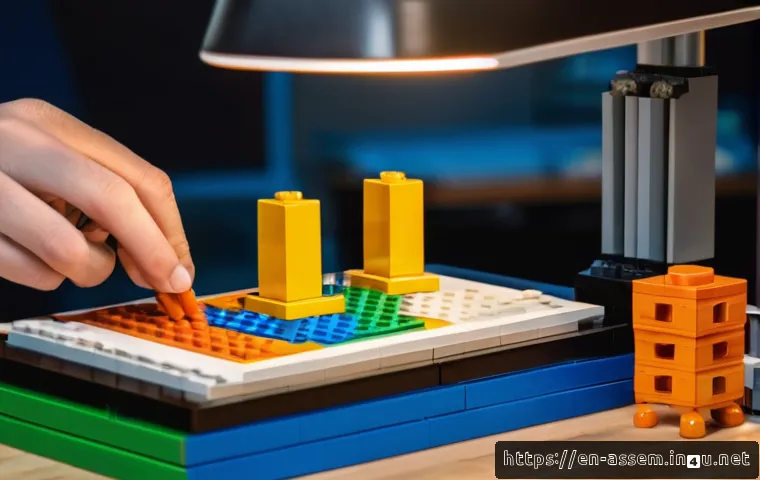
Lighting plays a surprisingly big role. I found that building near a bright window or using a desk lamp with adjustable angles reduces eye strain and helps spot mismatched bricks or orientation errors faster.
A clean, organized workspace also minimizes distractions and clutter, making it easier to focus on the build and notice when something looks off. Trust me, a well-lit, tidy space turns frustration into flow.
Undoing Without the Stress: Efficient Brick Removal Techniques
Tools That Make a Difference
The classic LEGO brick separator is a lifesaver. At first, I tried removing bricks with just my fingers, which often led to bent or scratched pieces. Using the brick separator tool not only protects your bricks but speeds up the process, especially for tight or tricky spots.
Some sets include this tool, but if yours doesn’t, it’s worth investing in one. It’s lightweight, easy to handle, and designed specifically to pry bricks apart without damage.
Gentle Tactics to Avoid Brick Damage
When removing bricks, avoid pulling too hard or twisting wildly. Instead, try rocking the brick gently back and forth while pulling upward. This gradual loosening reduces the risk of breaking studs or cracking bricks.
For stubborn pieces, I sometimes use a small flathead screwdriver or a plastic pick, but only as a last resort and with extreme care. Protecting your bricks extends the life of your collection and keeps your sets looking pristine.
Minimizing Disassembly When Possible
One of the trickiest parts of fixing mistakes is deciding how much to take apart. I’ve learned that sometimes, you don’t need to dismantle an entire section—just the immediate surrounding bricks to free the error.
This approach saves time and keeps your momentum going. If you’re unsure, try to identify the smallest cluster of bricks that block correction and focus on that area first.
Decoding Instructions: Tips to Understand Complex Steps Clearly
Breaking Down Multi-Step Instructions
LEGO instructions for large sets can be overwhelming, with some pages containing multiple steps or sub-assemblies. What worked for me was treating each instruction page like a mini-project—focusing only on one step at a time and completing it fully before moving on.
This reduces confusion and the temptation to rush, which often causes errors. Highlighting or marking completed steps in the manual (if it’s your own copy) also helps track progress visually.
Using Digital Versions for Zoom and Clarity
Many LEGO sets have official digital instructions available online or through apps. I found these useful because I could zoom in on tiny details and rotate the view if the app supports it.
This feature made it easier to understand tricky connections or orientation that wasn’t clear in the paper manual. Plus, digital instructions are portable, so you can build anywhere without worrying about losing or damaging the booklet.
Watching Video Tutorials for Visual Guidance
Sometimes, seeing someone else build the same set offers insights that static instructions can’t provide. I’ve turned to YouTube or LEGO fan communities where builders share time-lapse or step-by-step tutorials.
These videos often highlight common pitfalls and show practical ways to fix errors. It’s reassuring to know you’re not alone in struggling with certain parts, and watching a pro’s hands in action can be a game-changer.
Organizing Your Bricks for Faster and Error-Free Building
Sorting by Size, Color, and Type
Before diving into a build, I always spend time sorting bricks into trays or bins. Organizing by size and color helps me locate the needed piece quickly and prevents grabbing the wrong one by accident.
I use small containers or drawer organizers labeled by brick type, which keeps everything neat and accessible. This preparation step reduces frustration and accelerates the building process, especially for large sets with thousands of pieces.
Creating a Dedicated Building Zone
Having a specific area for LEGO projects makes a huge difference. I set up a table where I can leave my build in progress without worrying about pets, kids, or accidental knocks.
This dedicated zone also stores my sorted bricks and tools, so I’m always ready to build without scrambling to find parts. Knowing exactly where everything is helps maintain focus and reduces mistakes caused by distractions or misplaced pieces.
Keeping Spare Parts and Extras Handy
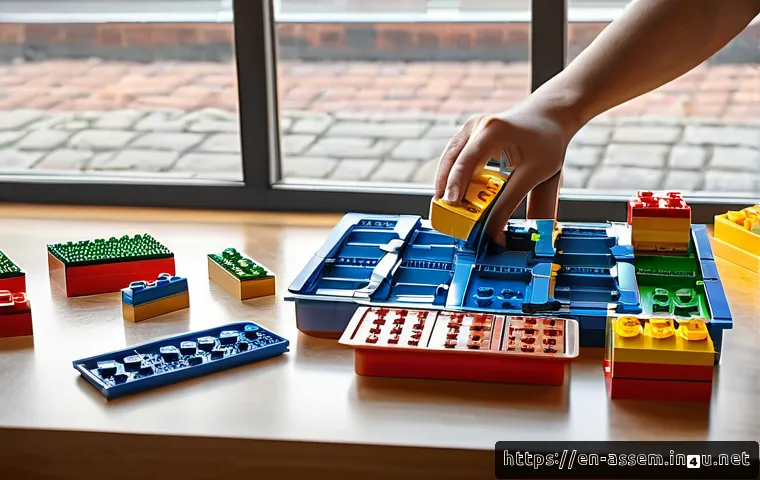
Some sets come with extra bricks, but I also keep a small stash of common replacement pieces for emergencies. This habit saved me when I accidentally lost or damaged a crucial part.
Having spares on hand means you can keep building without delay. I recommend labeling your extras separately and checking your collection regularly to replenish missing or worn bricks.
Recognizing and Correcting Structural Flaws Early
Identifying Misaligned Layers and Connections
Structural integrity is crucial, especially for large or complex models. I learned to watch out for subtle misalignments early, such as bricks shifted by one stud or slightly rotated plates.
These small flaws can cascade into bigger problems, making later sections unstable or forcing you to rebuild. A quick visual and tactile inspection after each major step helps catch these issues before they become permanent.
Reinforcing Weak Areas
Sometimes the instructions leave room for added reinforcement. For example, doubling up plates or adding extra support bricks in hidden areas can strengthen the model.
I experimented with this on my architectural builds and noticed a significant improvement in durability. This is especially helpful if you plan to display the model for a long time or move it frequently.
Learning from Past Mistakes
Every build teaches you something new. I keep a mental note of common weak spots or tricky steps from previous sets and pay extra attention to those areas in new builds.
For instance, certain connection types or color combinations might be prone to error. This experience-based awareness reduces repeat mistakes and speeds up the building process over time.
Common Pitfalls and How to Avoid Them: A Quick Reference
| Common Mistake | How to Spot It | Correction Tip | Preventive Measure |
|---|---|---|---|
| Wrong Brick Orientation | Brick doesn’t fit flush or stud alignment looks off | Remove gently and rotate before reinserting | Check orientation closely before pressing down |
| Swapped Similar Pieces | Color or shape mismatch noticed during assembly | Compare piece with instruction photo, swap immediately | Sort bricks by type and color beforehand |
| Missing Brick | Gap or incomplete section visible in build | Check leftover bricks or spare stash, replace | Count pieces before and after each step |
| Loose Connections | Section wobbles or bricks easily separate | Press bricks firmly and add reinforcement if needed | Build on a flat surface and verify connections frequently |
| Overlooking Small Details | Details like stickers or small bricks missing | Backtrack and add missing elements carefully | Use a checklist for detailed steps |
Maintaining Your LEGO Sets Post-Build to Avoid Future Issues
Cleaning and Dusting Your Model
Once your masterpiece is complete, keeping it clean is key to preserving its look and function. I use a soft brush or compressed air to gently remove dust from hard-to-reach spots.
Regular cleaning prevents dirt buildup, which can cause bricks to stick or discolor over time. Avoid harsh chemicals; warm soapy water works well if a deeper clean is necessary, but only disassemble the model if you’re comfortable putting it back together.
Safe Display and Storage Practices
Displaying your LEGO sets in a secure spot away from direct sunlight prevents fading and warping. I recommend glass cabinets or covered shelves to shield them from dust and accidental knocks.
For sets you want to store, use airtight containers and keep bricks separated by set or theme to avoid mixing pieces. Label your storage to make rebuilding easier when you revisit old projects.
Handling Repairs and Modifications
If you need to modify or repair your set later, approach the task like building it fresh. Carefully remove affected sections, use the brick separator for safe disassembly, and keep track of removed pieces.
I’ve found that taking photos before and during modification helps me stay organized and reduces the chance of losing parts. Don’t rush repairs; patience ensures the set stays intact and looks great for years to come.
Wrapping Up
Building with LEGO is as much about patience and preparation as it is about creativity. By spotting errors early, organizing your workspace, and understanding instructions thoroughly, you can enjoy a smoother, more rewarding building experience. Remember, every mistake is an opportunity to learn and improve. With these tips, your next build will be more enjoyable and less frustrating.
Useful Tips to Keep in Mind
1. Take regular breaks to check your progress and catch mistakes before they pile up.
2. Sort your bricks by color, size, and type to speed up finding the right pieces and avoid mix-ups.
3. Use proper tools like brick separators to remove pieces safely without damage.
4. Utilize digital instructions and video tutorials for clearer guidance and troubleshooting.
5. Maintain your finished sets by cleaning gently and storing them in dust-free, secure places.
Key Takeaways
Early detection of errors saves time and frustration later on. Setting up an organized, well-lit building space enhances focus and accuracy. Using the right tools protects your bricks and speeds up corrections. Breaking down complex steps into manageable parts and leveraging digital aids makes following instructions easier. Finally, regular maintenance and careful handling prolong the life and appearance of your LEGO creations.
Frequently Asked Questions (FAQ) 📖
Q: What’s the best way to spot a LEGO building mistake before it becomes a bigger problem?
A: From my experience, the key is to pause frequently and compare your progress against the instruction manual step-by-step. I usually take a moment after every few steps to double-check connections and alignment.
It’s surprising how often a small misplacement early on can throw off the entire model later. Using good lighting and a clean workspace helps me catch errors early, so I don’t have to undo large sections.
Q: How do I fix a LEGO mistake if I realize it several steps after building it?
A: It can definitely feel frustrating when you spot an error after moving on, but don’t sweat it. The trick is to carefully dismantle only the affected parts instead of pulling apart the whole section.
I find using a brick separator tool is a game-changer—it saves my fingers and keeps the pieces intact. Also, try to keep the removed bricks organized by step to avoid confusion when rebuilding.
Taking your time and staying patient really helps turn the correction into a smooth process.
Q: Are there any tips for preventing common LEGO mistakes during assembly?
A: Absolutely! One thing I swear by is sorting bricks before starting, especially for large sets. Grouping pieces by type and color makes it easier to find the right brick and reduces mix-ups.
Another tip is to build on a flat, stable surface and avoid distractions—trust me, I’ve learned the hard way how easily mistakes creep in when you’re multitasking.
Lastly, don’t rush. Building LEGO is as much about enjoying the process as finishing the model, so keeping a steady, mindful pace really cuts down on errors.