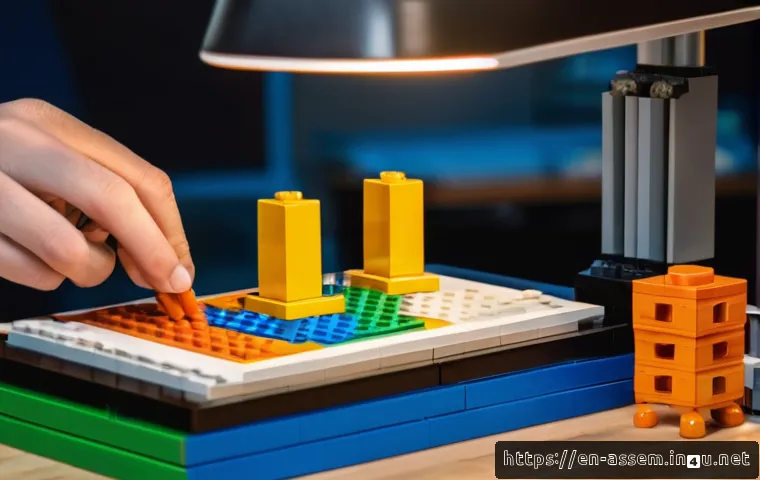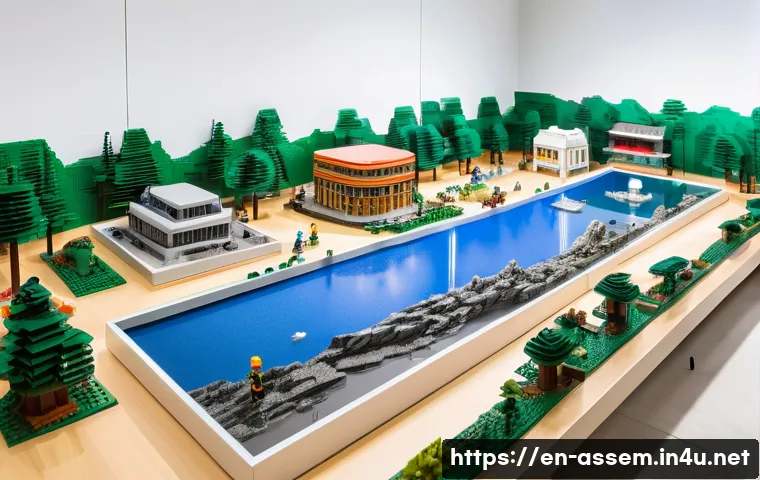
Preparing for a LEGO DIY exhibition is both exciting and challenging. Whether you’re showcasing intricate builds or interactive displays, thoughtful planning can make all the difference.
From selecting the right pieces to designing an engaging layout, every detail contributes to the overall impact. I’ve found that balancing creativity with practical setup tips really helps the event run smoothly.
If you’re looking to impress fellow LEGO enthusiasts and make your display unforgettable, you’re in the right place. Let’s dive into the essential steps to get your LEGO exhibition ready with confidence!
Mastering the Art of Piece Selection
Understanding Your Theme and Vision
Choosing the right LEGO pieces starts with a clear vision of your exhibit’s theme. Whether you’re aiming for a futuristic cityscape or a nostalgic recreation of classic sets, this initial step guides every purchase and selection.
I’ve learned that spending extra time visualizing the end result helps avoid last-minute scrambles for missing parts. It’s like painting a picture—you wouldn’t start without knowing what you want to create, right?
For example, if your display revolves around space exploration, prioritize sleek, smooth bricks and transparent elements to simulate windows or space helmets.
On the other hand, natural themes call for earthy colors and textured pieces. This thematic clarity also makes your setup more cohesive and visually impactful.
Prioritizing Rare and Specialty Pieces
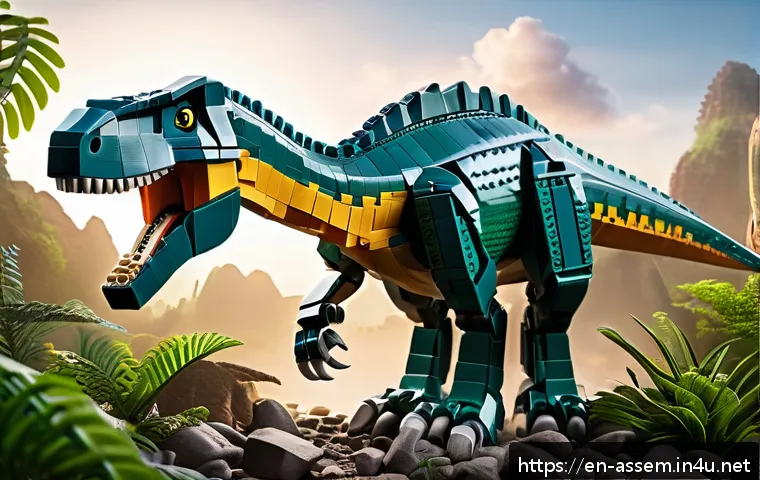
In my experience, integrating rare or unique LEGO parts can truly elevate a display from good to unforgettable. These pieces often serve as focal points or conversation starters.
However, balancing their use is crucial; overloading the exhibit with rare bricks can distract from the overall flow. A good rule of thumb is to reserve specialty pieces for key elements, like intricate vehicle engines or detailed minifigure accessories.
This approach not only highlights your collection’s uniqueness but also showcases your attention to detail. Plus, it’s always fun to watch fellow enthusiasts’ faces light up when they spot that elusive piece they recognize.
Organizing and Sorting for Efficiency
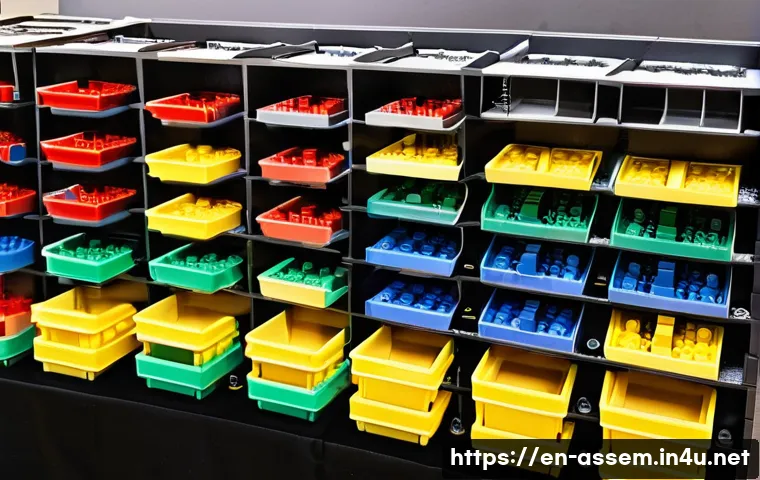
No matter how big your collection is, efficient sorting is a game-changer. I can’t stress enough how much smoother the build and teardown phases go when pieces are categorized by color, size, and function.
Using stackable bins or compartmentalized trays keeps everything accessible and prevents accidental mix-ups. When I prepared for my last exhibition, having a system in place saved me hours that would have otherwise been spent digging through piles of bricks.
Plus, it reduces stress and lets you focus on the creative side. Sorting might seem tedious, but it’s like setting the stage before the show—it makes the entire process more enjoyable.
Designing a Visitor-Friendly Layout
Maximizing Space Without Overcrowding
The way you arrange your LEGO display can make or break visitor experience. From what I’ve seen, cramming too many builds into a tight space feels overwhelming and diminishes the impact of each piece.
Instead, aim for a balanced layout that allows viewers to appreciate individual models while keeping the flow natural. Leaving clear pathways encourages visitors to linger longer and explore every detail.
I like to think of it as curating a mini-museum—each section should tell its own story without competing for attention. Lighting and table height also play a huge role here, ensuring your creations are seen at their best angles.
Incorporating Interactive Elements
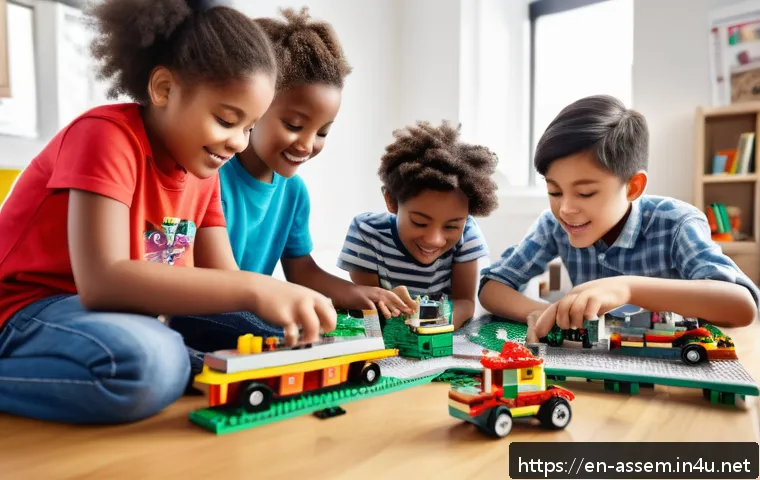
Adding interactive features is an excellent way to engage visitors and make your exhibition memorable. This could be as simple as a hands-on building station or as complex as motorized models with buttons to activate.
From personal experience, interactivity invites attendees to connect with your display beyond just looking. It encourages creativity and can even inspire younger visitors to dive into the world of LEGO.
Just make sure to clearly label interactive zones and provide instructions to keep everything running smoothly. Plus, interactive setups often become the highlight of the event, boosting both attendance and social media buzz.
Strategic Signage and Storytelling
Signage isn’t just about labeling; it’s about telling a story that deepens the visitor’s connection to your work. I’ve found that well-crafted descriptions, background stories, or fun facts next to your builds add layers of meaning that elevate the entire exhibit.
Try to keep text concise yet engaging—people tend to skim, so punchy headlines and bullet points work wonders. Using visuals like sketches or process photos can also help explain complex builds.
This storytelling approach not only educates but also showcases your passion and expertise, creating a richer experience for your audience.
Essential Tools and Materials for Setup
Must-Have Tools for Building and Repair
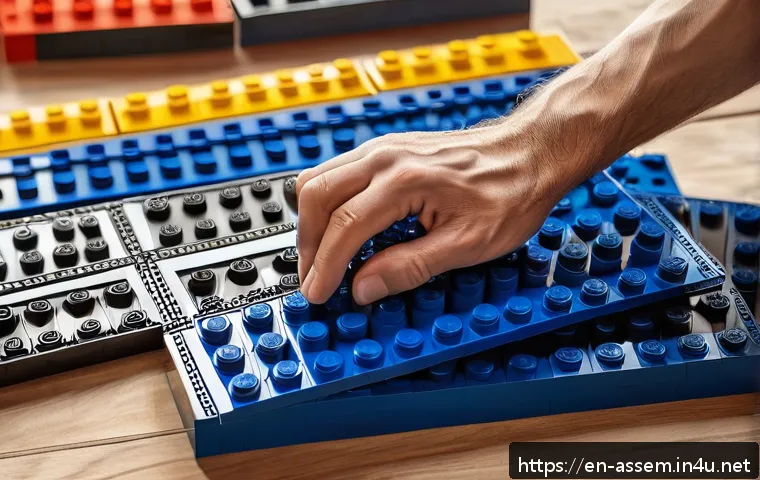
Having the right tools on hand can save you from countless headaches during setup. I always pack brick separators, tweezers, and small brushes to clean dust off pieces.
These tools are lifesavers when you need to fix a wobbly structure or separate stubborn bricks without damage. You’d be surprised how many times a simple brick separator has prevented me from pulling my hair out!
Also, a small toolkit with screwdrivers and pliers comes in handy if you’re working with custom lighting or motorized parts. Preparing your toolbox before the event ensures a smoother, less stressful build.
Display Materials and Protective Elements
Protecting your hard work during transport and display is just as important as the build itself. Clear acrylic risers, display cases, and soft mats can shield delicate models from accidental bumps and dust.
I personally prefer using removable adhesive putty to secure models gently without leaving residue. It’s a subtle but effective way to keep everything stable.
Additionally, having microfiber cloths and compressed air cans on hand helps maintain that pristine look throughout the event. These small details contribute massively to the professional polish of your exhibit.
Organizing Transport and Setup Logistics
Transporting LEGO exhibits requires careful planning to prevent damage or loss. I learned the hard way that packing models separately in sturdy containers with foam padding is essential.
Labeling boxes clearly and keeping an inventory list minimizes the chance of missing pieces or components. On setup day, arrive early to allow ample time for assembly and troubleshooting.
Bringing extra extension cords, zip ties, and repair kits ensures you’re prepared for any unexpected challenges. These logistics might seem mundane, but they form the backbone of a successful exhibition.
Engaging Your Audience Effectively
Creating Social Media Buzz
Promoting your LEGO exhibition online is a great way to boost attendance and build a community around your work. Sharing sneak peeks, behind-the-scenes photos, and time-lapse build videos generates excitement and anticipation.
I’ve noticed that using hashtags specific to LEGO fan groups and local events expands reach significantly. Don’t hesitate to tag popular LEGO influencers or local hobby shops to tap into their networks.
Engaging with comments and questions also fosters connection and encourages repeat visits. Social media isn’t just a promotional tool; it’s a platform for sharing your passion with like-minded fans.
Hosting Live Demonstrations and Workshops
If the venue allows, hosting live building demos or workshops adds tremendous value to your exhibition. Watching the creative process unfold in real-time captivates visitors and invites them to try their hand at building.
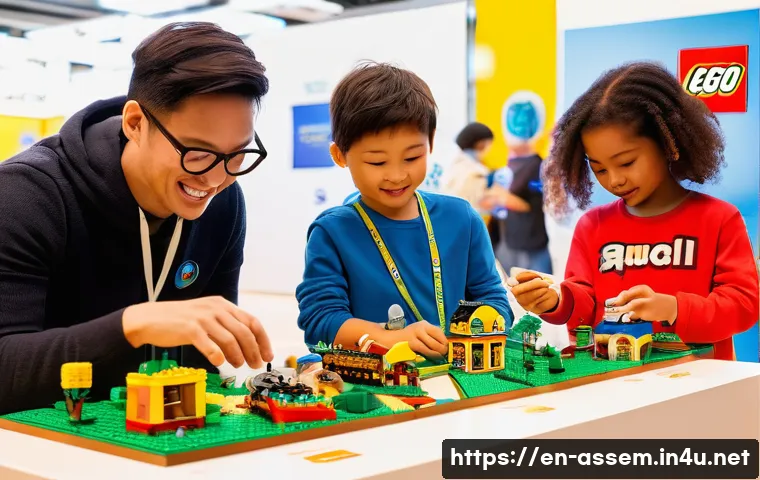
From personal experience, interactive sessions create a friendly atmosphere and help demystify complex techniques. Preparing simple take-home kits or challenge tasks can make workshops more accessible, especially for kids.
These activities often turn casual visitors into engaged fans, increasing the likelihood of word-of-mouth promotion.
Gathering Feedback and Building Community
Collecting feedback during and after the event helps you improve future exhibitions and deepen connections with your audience. Simple surveys or comment cards placed near the exit encourage honest opinions and suggestions.
I like to include a sign-up sheet for newsletters or social media updates to keep the conversation going. Responding to feedback shows respect for your visitors’ voices and can spark ideas for new builds or themes.
Ultimately, building a loyal community around your LEGO exhibits creates a supportive network that fuels ongoing creativity.
Budgeting Smartly Without Compromising Quality
Allocating Funds Based on Priorities
Balancing your budget is one of the trickiest parts of preparing a LEGO exhibition. From experience, I recommend listing all potential expenses—from new bricks and display materials to venue fees and promotional costs—and ranking them by importance.
This helps you focus spending on elements that will have the biggest impact, like investing in specialty pieces or quality lighting. Cutting corners on critical areas often backfires, so prioritize what truly enhances the visitor experience.
It’s all about smart trade-offs that keep your vision intact without breaking the bank.
Finding Deals and Alternative Resources
There’s no shame in hunting for deals or exploring alternative sources for LEGO parts. I’ve saved a ton by shopping at secondhand stores, online marketplaces, and LEGO swap meets.
Sometimes, connecting with local LEGO clubs can open doors to borrowing rare pieces or sharing resources. Don’t forget to check clearance sales on official LEGO websites or local toy stores.
Patience and flexibility pay off—you might snag a key piece at a fraction of the usual cost. This approach also encourages sustainability by giving bricks a second life.
Tracking Expenses for Future Planning
Keeping detailed records of your spending helps streamline future exhibitions and avoid unpleasant surprises. I use simple spreadsheets to track each purchase and categorize costs.
Reviewing these after the event provides insight into where you can save or invest more next time. Plus, having transparent records is useful if you plan to seek sponsorship or crowdfunding support.
Budgeting isn’t just about limiting costs; it’s about making informed decisions that support your creative goals.
Essential Checklist for Final Preparations
Confirming All Components Are Ready
Before the big day, double-check that every piece, tool, and display item is packed and ready. It’s a good idea to walk through your checklist multiple times.
I tend to create a physical checklist and mark off items as I pack them. This reduces last-minute panic and forgotten essentials. Also, verify that any electronics or lighting systems are functioning correctly.
Testing everything ahead of time saves precious setup hours and ensures a smooth start.
Coordinating with Venue Staff and Volunteers
Effective communication with venue personnel and helpers can make a world of difference. I usually schedule a quick briefing session to clarify roles, discuss the layout, and go over safety protocols.
Volunteers are invaluable, so showing appreciation and providing clear instructions helps keep morale high. Plus, having a point of contact at the venue makes troubleshooting easier if unexpected issues arise.
Collaboration turns a challenging setup into a team effort.
Preparing for Troubleshooting and Flexibility
No matter how well you plan, hiccups are inevitable. I’ve learned to embrace flexibility as part of the process. Packing a small emergency kit with spare pieces, tape, and tools means you can quickly patch up any mishaps.
Being mentally prepared to adapt your layout or timing reduces stress and keeps the event enjoyable. Remember, your passion and creativity are what truly shine through, even if everything isn’t picture-perfect.
| Preparation Aspect | Key Tips | Tools/Resources |
|---|---|---|
| Piece Selection | Focus on theme consistency, include rare pieces sparingly, organize by color and function | Sorting bins, brick separators, inventory lists |
| Layout Design | Balance space and flow, add interactive zones, use clear signage | Acrylic risers, display cases, signage materials |
| Setup Tools | Bring brick separators, cleaning brushes, repair kits | Toolbox with tweezers, screwdrivers, adhesive putty |
| Audience Engagement | Promote on social media, host live demos, gather feedback | Camera for photos/videos, feedback forms, social media accounts |
| Budget Management | Prioritize expenses, seek deals, track spending meticulously | Spreadsheets, online marketplaces, LEGO clubs |
| Final Preparations | Confirm all materials packed, coordinate with venue, prepare for troubleshooting | Checklists, communication devices, emergency repair kit |
Closing Thoughts
Mastering the art of LEGO exhibition takes thoughtful planning, creativity, and attention to detail. From selecting the perfect pieces to engaging your audience, every step shapes the visitor’s experience. With patience and preparation, your display can inspire and captivate. Remember, it’s not just about the bricks—it’s about the story you build around them.
Useful Tips to Keep in Mind
1. Always start with a clear vision to guide your piece selection and design choices.
2. Organize your collection efficiently to save time and reduce stress during setup.
3. Balance space and interactivity to create an inviting and memorable layout.
4. Use social media and live events to connect with your audience and expand your reach.
5. Track your budget carefully and explore alternative sources to maintain quality without overspending.
Key Takeaways for a Successful LEGO Exhibition
Prioritize theme consistency and thoughtful piece selection to ensure a cohesive display. Plan your layout to maximize visitor engagement without overcrowding. Equip yourself with the right tools and materials for smooth setup and maintenance. Engage your audience actively through demonstrations and social media, and manage your budget smartly to keep the project sustainable. Finally, prepare thoroughly and stay flexible to handle any challenges with confidence and ease.
Frequently Asked Questions (FAQ) 📖
Q: How do I choose the right LEGO pieces for my exhibition display?
A: Picking the right LEGO pieces really depends on the theme and story you want to tell with your display. I usually start by focusing on key colors and unique shapes that highlight the main features of my build.
It helps to gather specialized pieces early on to avoid last-minute scrambling. Also, consider including some rare or custom elements to catch visitors’ eyes and spark conversations.
Don’t forget to keep a good mix of bricks for structural stability and decorative parts to add flair.
Q: What are some practical tips for setting up a LEGO exhibition layout?
A: From my experience, planning the layout with visitor flow in mind is crucial. Make sure there’s enough space around each build so people can appreciate the details without feeling cramped.
Using risers or clear stands can elevate smaller models and create visual interest. Labeling each piece with a brief description or fun fact adds an educational touch and keeps people engaged longer.
Lastly, bring along repair kits and extra bricks—things can get bumped or shifted, and being prepared saves a lot of stress.
Q: How can I make my LEGO exhibition more interactive and engaging for attendees?
A: Interactive elements are a game-changer for keeping visitors excited. I’ve found that setting up a small build station where guests can create their own mini models or add to a communal project really boosts engagement.
Incorporating challenges or themed contests with small prizes also encourages participation. If possible, include digital components like time-lapse videos of your builds or augmented reality features to wow tech-savvy fans.
These touches make the whole experience memorable and invite people to stick around longer.